
Tired of the same old iPhone ringtones? Do you long to personalize your device and make it truly your own? This guide to setting custom ringtones on your iPhone will empower you to break free from the default sounds and embrace a world of personalized audio. Learn how to transform your favorite songs, sound effects, or even voice recordings into unique ringtones that reflect your individual style. Discover the secrets to customizing your iPhone’s soundscape and make every call, text, and notification a distinctly personal experience.
Whether you’re a tech novice or an experienced iPhone user, this comprehensive guide provides step-by-step instructions to effortlessly set custom ringtones. From acquiring the necessary software to navigating the intricacies of your iPhone’s settings, we’ll cover everything you need to know. Unleash your creativity and personalize your iPhone with custom ringtones that resonate with your personality. Say goodbye to generic alerts and hello to a truly customized auditory experience.
Understanding iPhone Ringtone Options
Your iPhone offers a variety of options for ringtones, allowing you to personalize your auditory experience. Before diving into creating custom ringtones, it’s important to understand the built-in choices available.
By default, your iPhone comes with a selection of pre-installed ringtones. These are accessible through the Settings app under Sounds & Haptics, then Ringtone. You’ll find a curated list of tones, categorized for easy browsing. Selecting one of these default ringtones is the quickest way to change your alert sound.
In addition to the standard ringtones, purchased ringtones from the iTunes Store are also an option. While this offers a wider selection, it involves a cost. Purchased ringtones will appear alongside the default options in your ringtone settings.
Finally, and the focus of this guide, you can create and use custom ringtones. This gives you the greatest flexibility and personalization, allowing you to use segments of your favorite songs or other audio clips.
Creating Custom Ringtones with GarageBand
GarageBand, a free app available on most iPhones, offers a powerful yet user-friendly way to create custom ringtones. Its intuitive interface makes crafting unique tones from your favorite songs a straightforward process.
Begin by opening GarageBand and selecting a new project. Choose any instrument to start; this choice won’t affect the final ringtone. Import the song you wish to use. Precisely select the desired portion of the song to be your ringtone, ensuring it’s under 30 seconds.
Once you’ve selected your clip, use the edit tools to fine-tune the selection. Features like looping and fading can add professional touches. When satisfied, tap the down arrow icon in the upper left-hand corner to reveal the ‘My Songs’ browser.
Locate your project and long-press the icon. From the menu, select ‘Share’. Then, choose ‘Ringtone’. You can rename the ringtone before finally tapping ‘Export’. After a short processing time, your custom ringtone will be ready.
Using iTunes to Set Ringtones
While newer methods exist, iTunes can still be a viable option for setting custom ringtones, especially for users with older iPhones or those who prefer managing their devices through this software.
Ensure you have the correct version of iTunes installed. Older versions typically offer better ringtone management features. Connect your iPhone to your computer and open iTunes. Select your device in iTunes and navigate to the “Tones” section.
You’ll need to have your custom ringtone file ready on your computer. Drag and drop the ringtone file (m4r format) into the “Tones” section of iTunes. Once transferred, sync your iPhone to apply the changes. Your custom ringtone should now be available on your device.
Transferring Ringtones to Your iPhone
Once your custom ringtone is created, the next step is transferring it to your iPhone. There are several ways to accomplish this.
Using Finder (macOS Catalina and later) or iTunes (macOS Mojave and earlier, Windows)
If you created your ringtone using GarageBand or iTunes on your computer, the process is relatively straightforward. Connect your iPhone to your computer and open Finder (or iTunes). Your device should appear in the sidebar. Select your iPhone, then navigate to the “General” tab. Drag and drop your ringtone file (.m4r) into the “Ringtones” section of your iPhone’s storage. Sync your device to complete the transfer.
iCloud Drive
Another option is using iCloud Drive. Ensure that iCloud Drive is enabled on both your computer and iPhone. Save your ringtone file (.m4r) to the iCloud Drive folder on your computer. Then, on your iPhone, open the Files app, locate the ringtone file, and share it. Select “Save to Files” and choose a location on your iPhone. The ringtone will be accessible for selection.
Managing and Setting Your New Ringtone
Once your custom ringtones are on your iPhone, you can manage and assign them to specific contacts or use them as your default ringtone. This process allows you to personalize how your phone notifies you for different callers or events.
To assign a ringtone to a specific contact:
- Open the Contacts app.
- Select the desired contact.
- Tap Edit.
- Choose Ringtone.
- Select your custom ringtone from the list.
- Tap Done to save your changes.
To set a default ringtone for all calls:
- Go to Settings.
- Tap Sounds & Haptics.
- Select Ringtone.
- Choose your custom ringtone.
You can also set custom ringtones for your text tones, new voicemail alerts, and other notification sounds using the same process within the Sounds & Haptics settings.
Troubleshooting Ringtone Issues
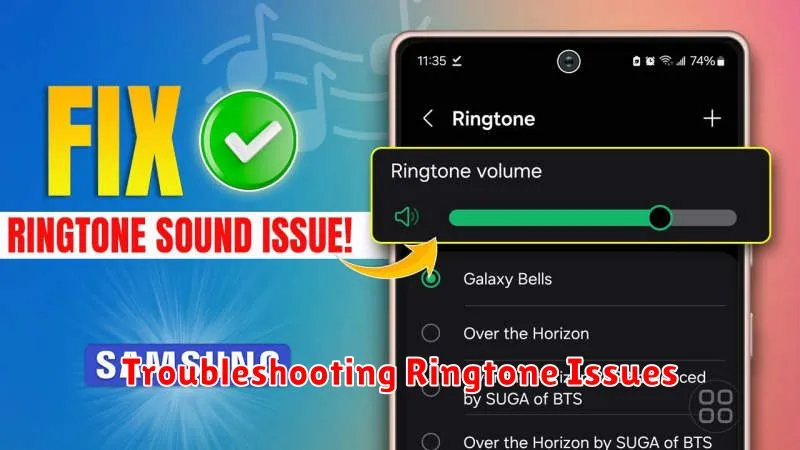
Occasionally, you might encounter issues with custom ringtones. Here’s a guide to address common problems.
Ringtone Not Appearing
If your custom ringtone isn’t showing up in the ringtone selection list, ensure the file format is compatible (.m4r). Double-check that the ringtone has been correctly transferred to your iPhone. Try restarting your device. If the issue persists, try creating the ringtone again.
Ringtone Doesn’t Play
If the ringtone is selected, but doesn’t play when you receive a call, check your device’s volume settings and the “Do Not Disturb” mode. Confirm that the ringtone is assigned to the specific contact or as the default ringtone, if desired.
Sync Errors
Problems syncing ringtones to your iPhone can be due to outdated software. Make sure both your iPhone and computer software (iTunes or Finder) are updated to the latest versions.
Exploring Third-Party Ringtone Apps
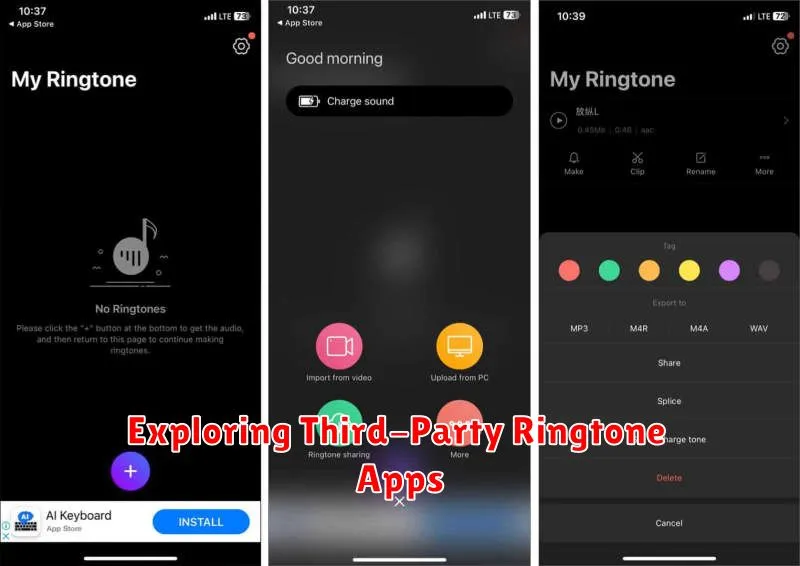
If the built-in methods seem too complex or you’re looking for a wider variety of ready-made ringtones, third-party ringtone apps offer a convenient alternative. These apps, available on the App Store, typically provide a vast library of ringtones across various genres, from popular music to sound effects.
Many of these apps allow you to preview ringtones before downloading them. Some even offer ringtone creation tools, allowing you to edit and customize sounds directly within the app. Be mindful of the app’s terms and conditions, as some might require subscriptions or in-app purchases for certain features or ringtone packs.
When choosing a third-party app, consider factors such as user reviews, the size and quality of the ringtone library, and the presence of any additional features you might find useful. Reading reviews can help you gauge the reliability of the app and the overall user experience.