
Do you want to truly unlock your phone’s potential? Are you tired of the limitations imposed by your phone’s manufacturer? This comprehensive guide to bootloader unlocking will walk you through the process, explaining the benefits, risks, and steps involved in taking full control of your Android device. Learn how bootloader unlocking empowers you to install custom ROMs, kernels, and other modifications to personalize and optimize your smartphone experience. Whether you seek enhanced performance, increased privacy, or the latest Android features, understanding bootloader unlocking is the key to realizing your phone’s true capabilities. This guide will provide you with the knowledge you need to navigate this exciting and empowering process.
Bootloader unlocking opens up a world of customization possibilities. From installing custom recoveries like TWRP to flashing custom ROMs like LineageOS, you’ll gain unprecedented control over your device’s software. This guide will delve into the specifics of bootloader unlocking for various manufacturers, address common concerns, and provide troubleshooting tips. Discover how to unlock the bootloader on your device and embark on a journey towards a truly personalized and optimized mobile experience. Prepare to unleash your phone’s full potential and transform it into the device you’ve always dreamed of.
Understanding Bootloader Basics
The bootloader is a critical piece of software that starts up your phone before the operating system loads. Think of it as a tiny program that tells your phone how to boot up. It checks the integrity of the system, verifies essential components, and then initiates the loading of the operating system kernel.
Typically, the bootloader is locked by default by the manufacturer. This is a security measure to ensure that the device boots only authorized software. A locked bootloader restricts users from installing custom operating systems (ROMs) or modifying the system partition.
Unlocking the bootloader essentially removes this restriction, giving you full control over the software running on your device. This process varies by manufacturer and often requires specific tools and drivers.
Benefits and Risks of Unlocking
Unlocking your bootloader offers several advantages, primarily centered around customization and control. It allows you to install custom ROMs, which are modified versions of the Android operating system, offering enhanced features, performance tweaks, and a cleaner software experience. You can also gain root access, granting you deeper control over your device’s system files and settings. Furthermore, unlocking enables the installation of custom recoveries, which are essential for backing up and restoring your device, and flashing custom software.
However, unlocking also carries inherent risks. The process itself can be complex and, if performed incorrectly, may brick your device, rendering it unusable. Unlocking also typically voids your warranty. Furthermore, an unlocked bootloader potentially makes your device more vulnerable to security threats if you’re not careful about the software you install. Finally, some security features, such as device encryption, may be disabled after unlocking. Carefully weigh these risks against the benefits before proceeding.
Preparing Your Device for Bootloader Unlocking
Before initiating the unlock process, it’s crucial to prepare your device adequately. This ensures a smooth unlocking experience and minimizes the risk of data loss. Back up your data. Unlocking the bootloader often wipes your device clean, erasing all personal files, apps, and settings. Create a comprehensive backup to preserve your important information.
Charge your device fully. The unlocking process can take some time, and a depleted battery could interrupt the procedure, potentially bricking your phone. Ensure your phone has at least a 70% charge or, ideally, is fully charged.
Install necessary drivers. Your computer needs to recognize and communicate with your phone in a specific mode during the unlock process. This usually involves installing USB drivers specific to your device manufacturer. Check your manufacturer’s website for the correct drivers.
Enable Developer Options and USB Debugging. These are usually hidden settings that need to be activated. Refer to your device’s instructions on how to enable these. This allows your computer to interact with your phone at a lower level, essential for bootloader unlocking.
Familiarize yourself with your device’s specific unlocking instructions. While the general process is similar, each manufacturer has specific steps and tools required. Consulting your manufacturer’s official website or trusted forums dedicated to your device model is strongly recommended.
Step-by-Step Unlocking Instructions
Please note: These instructions are general guidelines. Specific steps may vary based on your device manufacturer and model. Consult your device’s official documentation for precise instructions.
Step 1: Back Up Your Data. Unlocking your bootloader will likely erase all data on your device. Back up all important files before proceeding.
Step 2: Enable Developer Options and USB Debugging. Navigate to your phone’s settings and locate the “About Phone” section. Tap the “Build number” repeatedly until Developer Options are enabled. Within Developer Options, enable “USB Debugging.”
Step 3: Install Necessary Drivers. Install the appropriate USB drivers for your device on your computer. These are often available from the manufacturer’s website.
Step 4: Connect Your Device to Your Computer. Use a USB cable to connect your phone to your computer.
Step 5: Unlock the Bootloader. This step varies significantly depending on the manufacturer. Generally, it involves using a command-line interface on your computer to send specific commands to your device. You may need to obtain an unlock code or permission from the manufacturer.
Troubleshooting Common Bootloader Unlock Issues
Encountering problems during the bootloader unlocking process? Don’t worry, it’s not uncommon. This section addresses frequent issues and their solutions.
Device Not Recognized by Computer
If your computer doesn’t detect your device after enabling USB debugging and connecting it, ensure you have the correct USB drivers installed. Try a different USB cable and port as well. This often resolves connection issues.
Unlock Command Not Recognized
Sometimes, the fastboot or ADB command for unlocking isn’t recognized. Verify that you have installed the necessary platform tools correctly and that your device is in fastboot mode. Double-check the command syntax for your specific device model.
Error Messages During Unlock Process
Specific error messages can provide clues. “FAILED (remote: ‘Command not allowed’)” often indicates the bootloader unlock option isn’t enabled in your device’s developer options. “FAILED (remote: ‘oem unlock is not allowed’)” usually signifies that the device’s OEM unlocking is disabled in the settings.
Device Freezes During Unlock
If your device becomes unresponsive during the unlock process, do not disconnect it. A frozen screen can sometimes be normal, but wait at least 15 minutes before attempting any intervention. If the issue persists, try restarting the process from the beginning.
Restoring Your Bootloader to Factory Settings
In some situations, you may need to restore your bootloader to its factory settings. This might be necessary to resolve software issues, prepare for device warranty claims, or simply revert to the original configuration. This process, also known as re-locking the bootloader, reverses the unlocking procedure and reinstates the manufacturer’s restrictions.
Important Note: Re-locking the bootloader will usually erase all data on your device. Back up all important files before proceeding.
The exact process for restoring your bootloader varies depending on the device manufacturer. However, generally, it involves using platform-specific tools via a computer connected to your phone.
For many Android devices, you will use the Fastboot tool through a command-line interface. A typical command would resemble fastboot oem lock or fastboot flashing lock. Consult your device manufacturer’s official documentation for specific instructions and the appropriate command for your model.
Advanced Bootloader Customization Options
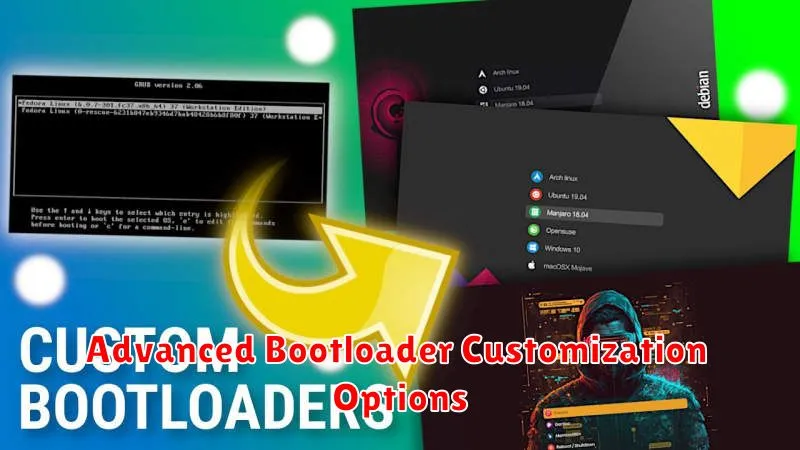
Once you’ve unlocked your bootloader, a world of advanced customization opens up. This allows for deeper control over your device’s software, but requires careful consideration and a good understanding of the implications.
Custom ROMs
Installing a custom ROM is one of the most popular reasons for unlocking a bootloader. These ROMs offer alternative operating systems, often providing enhanced features, improved performance, or a cleaner Android experience. Exercise caution when selecting a ROM, ensuring compatibility with your specific device model.
Custom Kernels
A custom kernel can further refine performance and functionality. Kernels manage the interaction between the hardware and software of your device. Custom kernels can offer features like overclocking for increased speed, underclocking for improved battery life, and fine-tuned control over various system parameters. However, improper kernel installation can lead to instability.
Boot Animations
While a less impactful modification, customizing your boot animation is a simple way to personalize your device. This allows you to change the animation displayed during the boot process, showcasing your own style.